
Installing & Updating the Add-In
Introduction
TThe Daloopa Excel Add-In brings Daloopa's data into Excel, so you can build, update, and audit financial models without leaving the workbook. Once a model is connected, updating it with the latest actuals takes a few clicks — no manual entry or copy-paste from filings.
You install it from the official Microsoft add-in store, either on your own or through your Microsoft 365 administrator. There's no separate program to download, and it updates itself once installed.
On this page
- Installing the Add-In
- Updating the Add-In
Installing the Add-In
For individual users
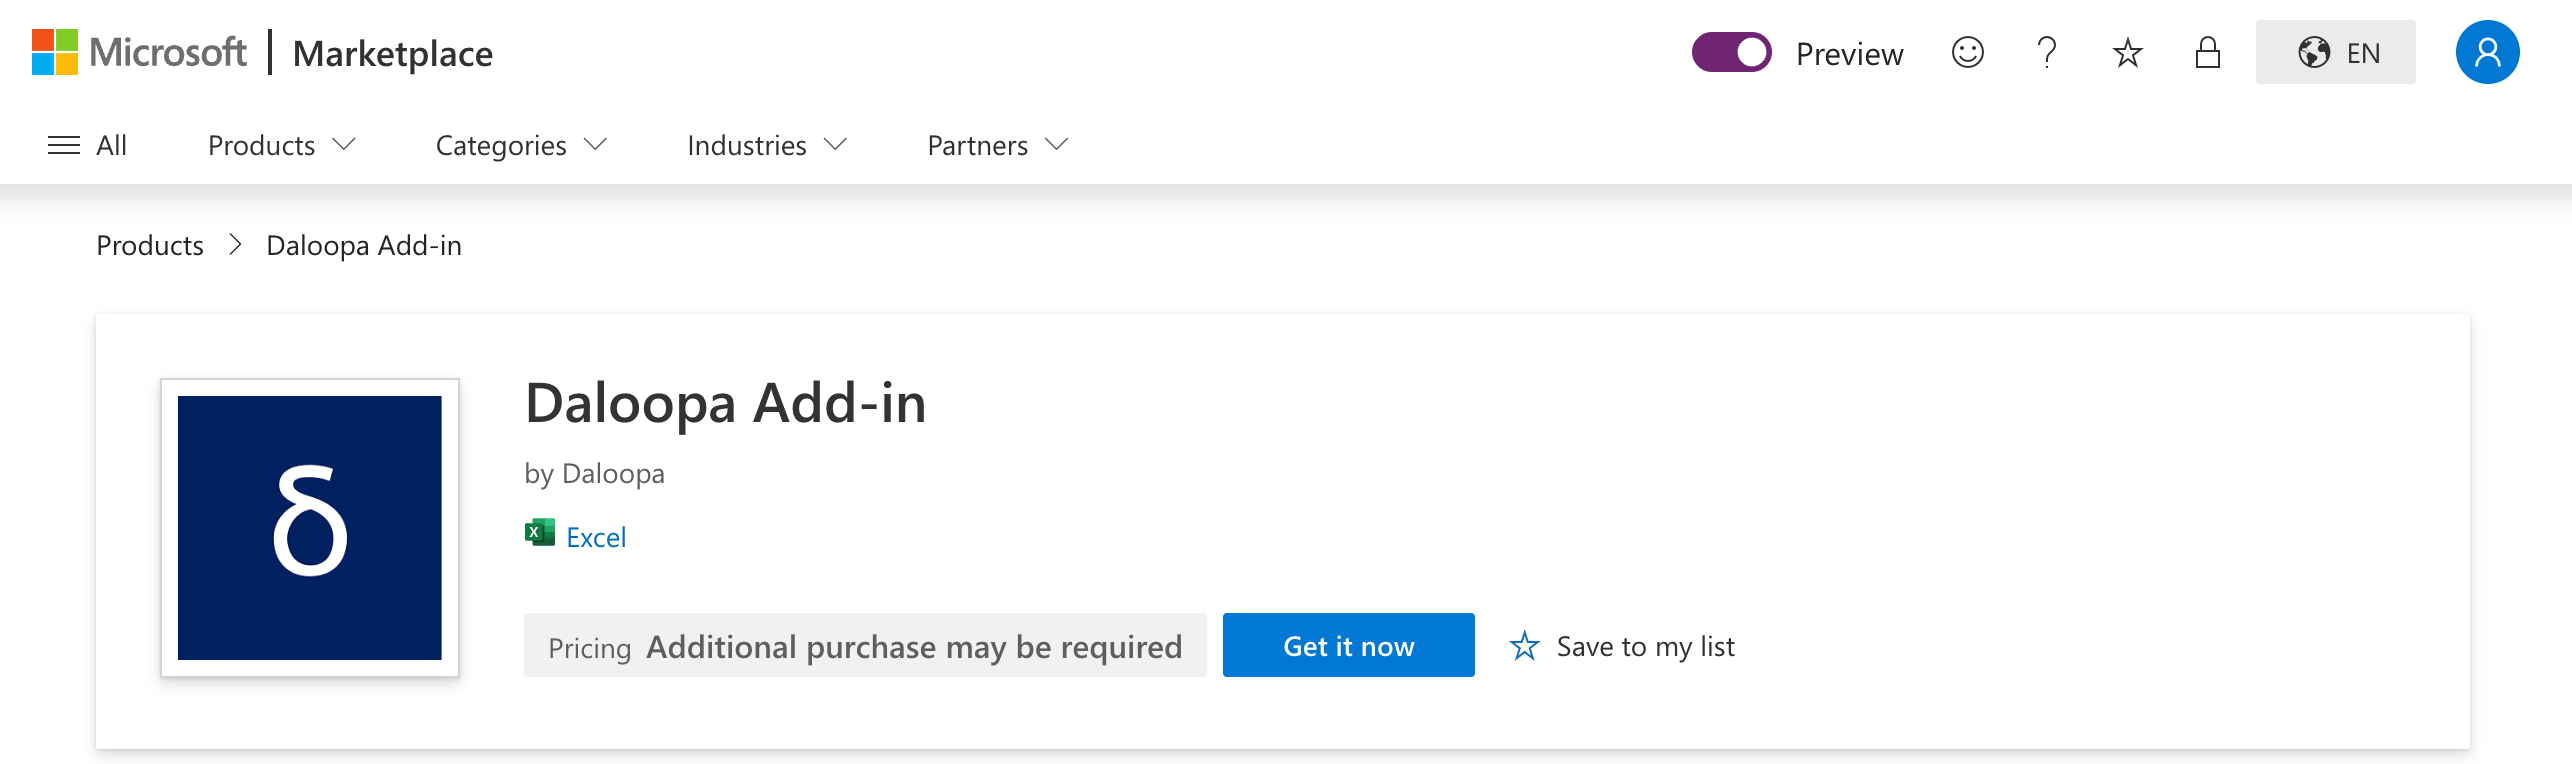
- Open the Daloopa Add-in on Microsoft AppSource.
- Click Get it now and complete the prompts to add it to your Microsoft account.
- In Excel (Windows, Mac, or Web), open a workbook and go to Home > Add-ins or Insert > Get Add-ins.
- Search for "Daloopa Add-in", select it, and choose Add if it isn't already pinned.
- Launch the add-in from the ribbon and sign in with your Daloopa credentials.
For Microsoft 365 administrators
Before you beginIf your organization previously deployed a custom (non-AppSource) version of the Daloopa add-in, remove it first:
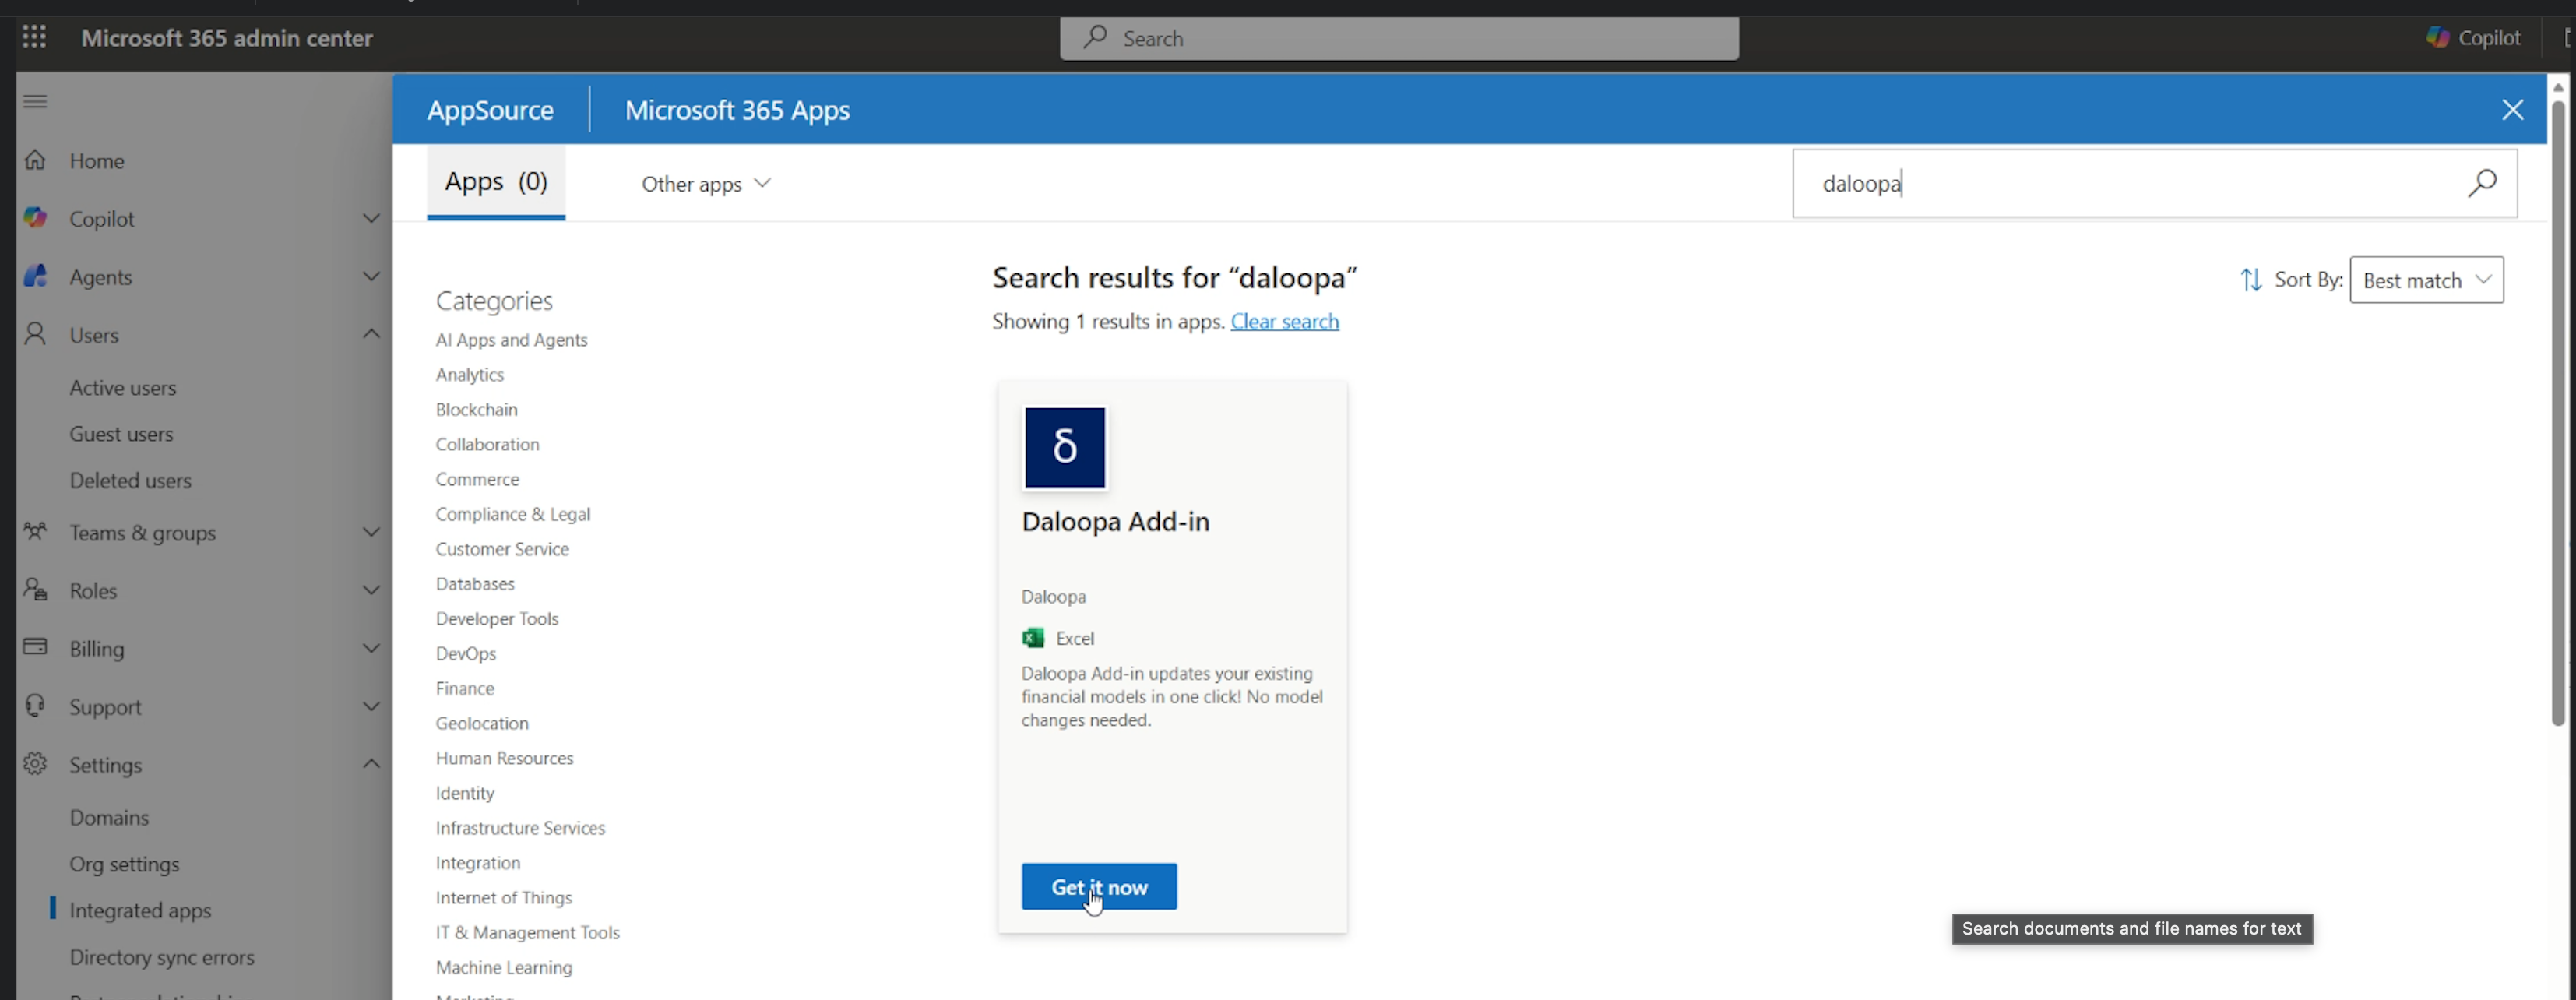
- Sign in to the Microsoft 365 admin center as a Global Administrator or Apps Administrator.
- Go to Settings > Integrated apps.
- Locate the custom Daloopa add-in — it appears under "Custom apps" or as a manually uploaded app.
- Select it, choose Remove app, and confirm. This removes only the custom deployment and doesn't affect any store-installed version.
To roll out the Daloopa Add-in across your organization:
- Go to the Microsoft 365 admin center.
- Navigate to Settings > Integrated apps > Add-ins.
- Search for "Daloopa Add-in" in Microsoft AppSource and select it.
- Choose how to deploy it (entire organization, specific groups, or individual users) and complete the deployment wizard.
For Microsoft's own walkthrough, share Deploy add-ins in the Microsoft 365 admin center with your IT team.
Once deployed, each user opens Excel, goes to Home > Add-ins (Windows and web) or Tools > Add-ins (Mac), adds the Daloopa Add-in to the ribbon if needed, and signs in.
Updating the Add-In
If you installed the add-in from the Microsoft Add-In Store (AppSource), it updates automatically — no action needed.
If you installed it another way, you may be on an outdated version and missing recent changes. To update:
- Ask your IT team to redeploy the Daloopa add-in through your organization's admin-managed apps (e.g., Microsoft 365 Integrated Apps).
- Or reach out to your Daloopa contact — your Customer Success representative can help coordinate the update.
Updated 21 days ago